

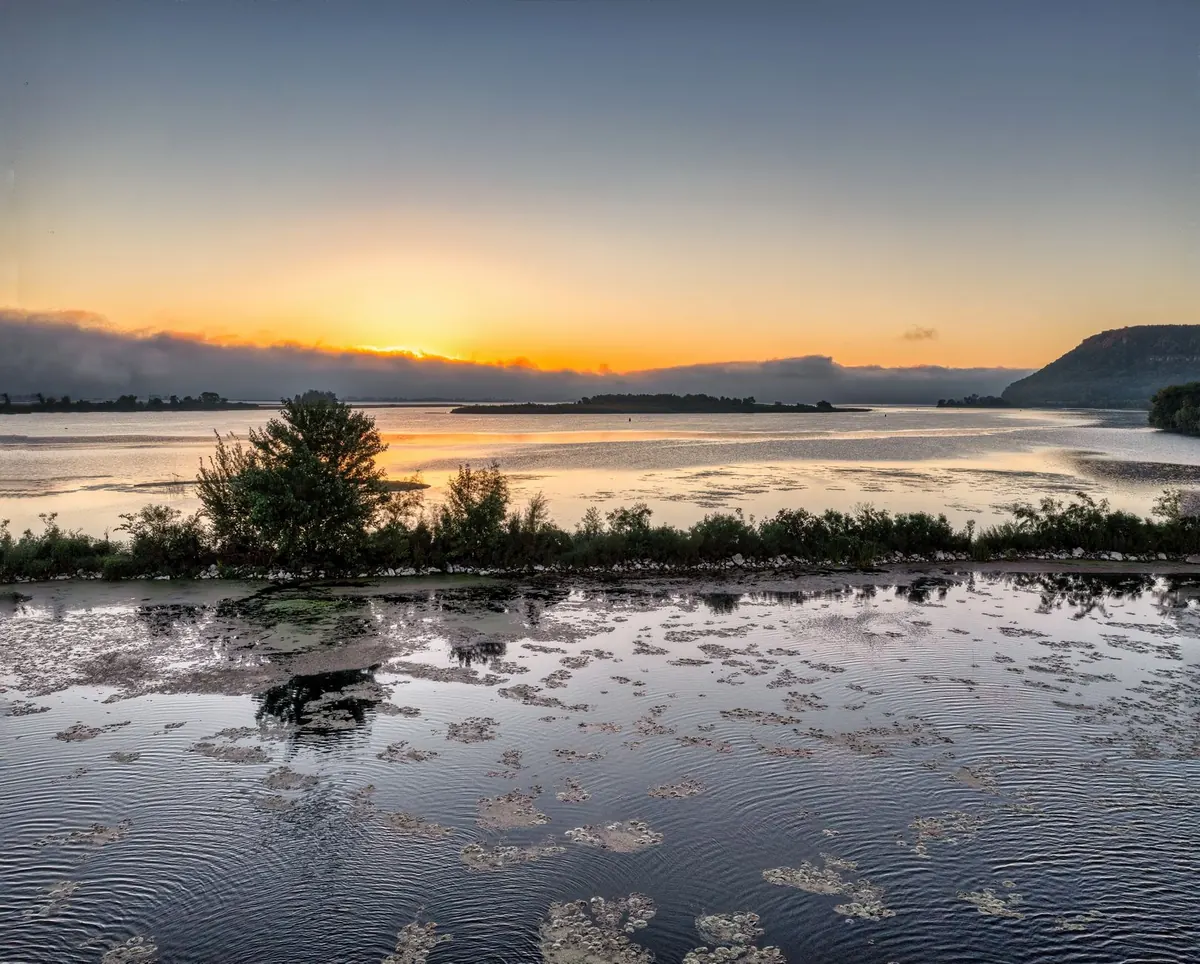
Anyone who has stood on a loch shore at twenty past four in the morning knows the feeling: total quiet, a pale band of light behind the hills, and a decision to make about aperture while your fingers are still numb. Sunrise at a Scottish loch rewards preparation far more than expensive kit. What follows is the checklist I run through before a first-light shoot, in roughly the order I use it.
Start With the Map, Not the Camera
The best sunrise photograph is usually made the day before. Turn up in daylight, walk the shore, and work out where you will actually stand in the dark.
Scout in daylight
Look for shore access, gates, passing places and anywhere you can park without blocking a track or a croft entrance. Note the ground underfoot — a bank of reeds that looks solid at noon can be knee-deep bog at 5am. Mark two or three positions in your head: one for a wide foreground, one for a reflection shot, and one you can retreat to if the light arrives somewhere unexpected.
Direction matters more in Scotland than in most places. Our northern latitude means the sun rises in the north-east in midsummer and the south-east in midwinter, so a bay facing east will catch first light while the far shore stays in shadow for another hour. Check a sun-position app or simply note which way the shore faces on the map.
Read the forecast properly
Cloud cover is the number that decides your morning, but the useful reading is layered. High, thin cloud takes colour beautifully and often produces the best glow. A thick low overcast will simply grey out. A completely clear sky gives you a soft, cool blue hour and very little drama. The sweet spot is broken cloud that has cleared overnight, especially with a bit of mist lying in the glen.
Wind is your second number. Anything above a gentle breeze kills the mirror-flat reflections that make loch photographs sing. Check the Met Office or a wind-and-cloud model the evening before, and treat anything above roughly 15mph as a signal to bring a longer lens and look for texture instead of reflections. If you are shooting a sea loch, tides matter too — a favourite rock can be underwater, or a mudflat can appear where you planned to stand.
Gear That Earns Its Place
You do not need much, but you do need it to be reliable in the dark and the damp.
- A sturdy tripod. Legs spread wide, centre column down, hook weighted with your bag. Rinse the leg sections in fresh water afterwards — salt and grit ruin twist locks.
- Spare batteries, kept warm. Cold drains them fast. Keep the spares in an inside pocket, not the camera bag.
- A headtorch with a red setting. White light destroys your night vision and, if anyone else is on the shore, theirs too.
- Lens cloth and a microfibre towel. Spray and condensation are constant.
- A polariser and a graduated neutral density filter (or bracketing, if you prefer to blend later).
- A remote release or the two-second timer.
- Waterproofs, boots, gloves with usable fingertips, and a flask.
- A midge head net from May to September. Calm, mild, damp mornings are exactly when they hatch.
Camera Settings for the First Hour
The baseline
Shoot RAW. Set the camera to manual, aperture between f/8 and f/11 for a sharp frame edge to edge, and ISO as low as your shutter speed allows — usually 100, moving to 400 or 800 only if the wind is moving foliage and you need a faster exposure. Expose for the brighter part of the sky and check the histogram rather than the screen; a bright sky that looks fine outdoors can be blown by two stops. Bracketing three frames a stop or two apart costs nothing and gives you options.
Focus and stability
Autofocus hunts in low light. Switch to manual, magnify the live view, and focus on a rock or reeds roughly a third of the way into the scene. Lock the tripod head, use the timer or a cable release, and if your camera has mirror lock-up, use it. Do not touch the tripod while the shutter is open.
Filters and white balance
A two or three-stop graduated filter tames a bright horizon well. Alternatively, take one frame for the sky and one for the land and combine them later. Set white balance manually to daylight or around 4500–5500K; leaving it on auto means your colour shifts between frames as the light changes. Nudge it cooler for that blue pre-dawn mood and warmer once the sun clears the hills.
Composition at a Loch
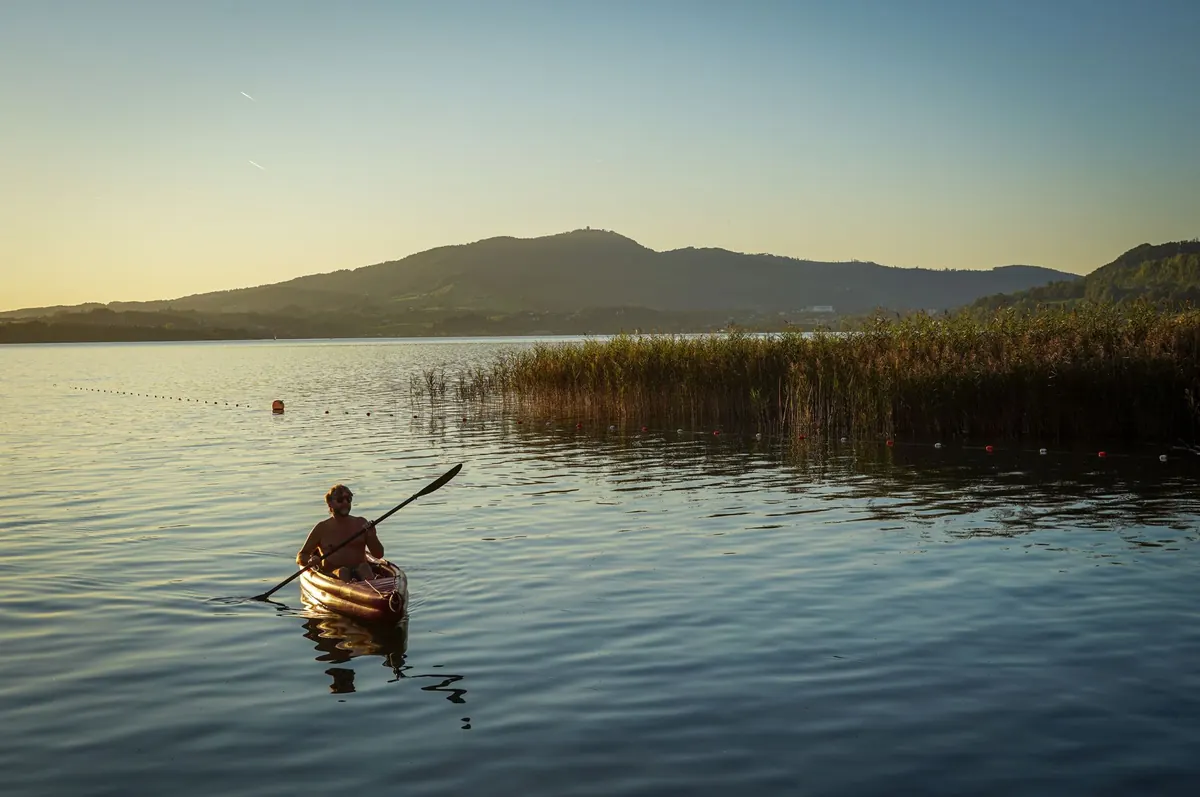
A loch gives you two gifts: water and horizons. Use the first as foreground. Rocks, a jetty, reeds, a moored boat or a patch of shingle all give the eye somewhere to land before it travels to the hills.
For a reflection, break the rule of thirds deliberately and place the horizon close to the middle so the mirrored hills read as a whole. For everything else, keep it off centre and watch the edges of the frame — half a branch or a stray fence post spoils more shots than bad light does. Check the spirit level in your camera; a loch horizon that is one degree out is the first thing a viewer notices.
Change lenses rather than moving. A wide angle makes the foreground heroic; a telephoto compresses layers of mist-covered hills into something far more graphic than the view suggests. In a flat, still morning, look for a lone tree or island to anchor a large area of empty water.
A Sunrise Timeline
- Ninety minutes before sunrise. Park, walk in, set up. Let your eyes adjust and let the camera reach air temperature so the lens does not fog.
- The blue hour, sixty to forty minutes out. Long exposures, cool tones, glassy water. This is often the most peaceful part of the morning.
- Thirty minutes out. Colour starts in the high cloud. Confirm your composition and shoot a few test frames.
- Sunrise itself. Work quickly through your set-ups, but pause after each one. Rushing produces twenty near-identical pictures.
- Ten to twenty minutes after. The light is often at its best here, raking across the hills. Turn around — the view behind you is frequently better than the one you came for.
- Forty-five minutes after. Mist lifts, contrast rises, and the scene flattens. Stop, drink the flask, and review.
The Night Before: Ten Quiet Minutes
Before you sleep, do this and your morning will be calm. Charge every battery and put the spares in your jacket pocket. Format the cards in the camera. Set the camera to RAW, manual, ISO 100, f/11, and daylight white balance so you are not fumbling in the dark. Pack the bag in the order you will need things: headtorch on top. Check the forecast one last time and set two alarms, ten minutes apart. Then go to bed early — the alarm will come round faster than you expect.
If the forecast turns, go anyway. Half the best light I have seen at a loch arrived on a morning the cloud map promised nothing, and the walk in the dark is worth the trip on its own.
Photo: Tom Fisk / Pexels